Guestroom Sign Co · specification guide
A hotel sign schedule by floor and location
A hotel sign schedule should identify where each sign belongs, what it communicates and which approved artwork and construction it uses. Give every physical sign a stable reference tied to a floor, zone and location on the project plan. A room list supplies some messages, but it does not automatically identify every directional or shared-space sign the property needs.
Reviewed 2026-09-05 · AI-assisted editorial review. General buying guidance; illustrative scenarios are not customer case studies. Images are AI-generated concepts.
Build the schedule from the intended guest journey and the responsible design team's approved locations. Keep a distinction between a destination, such as a room, and a sign that points toward it. Several signs may refer to one destination at different decision points, while one directional sign may list several destinations. Count the actual proposed objects after that mapping is clear.
Record the sign’s function before its decorative treatment
The U.S. Access Board guide distinguishes permanent room identification from directional and informational sign content. That United States guidance is a reason to keep sign purpose visible in a schedule; it does not decide the requirements for every hotel or certify a proposed product.
Use a purpose field such as room identification, direction, information or changing event content. Ask the responsible project reviewer to identify the applicable requirements for the actual property. A common visual style can connect the sign family, but it should not erase differences in content, physical specification or approved placement.
For purchasing, retain the requirements reference beside the sign type. This prevents a room-identification layout from being copied into every shared-area row merely because the colors match. When a supplier proposes a design, review it against the intended purpose and location as well as the brand appearance.
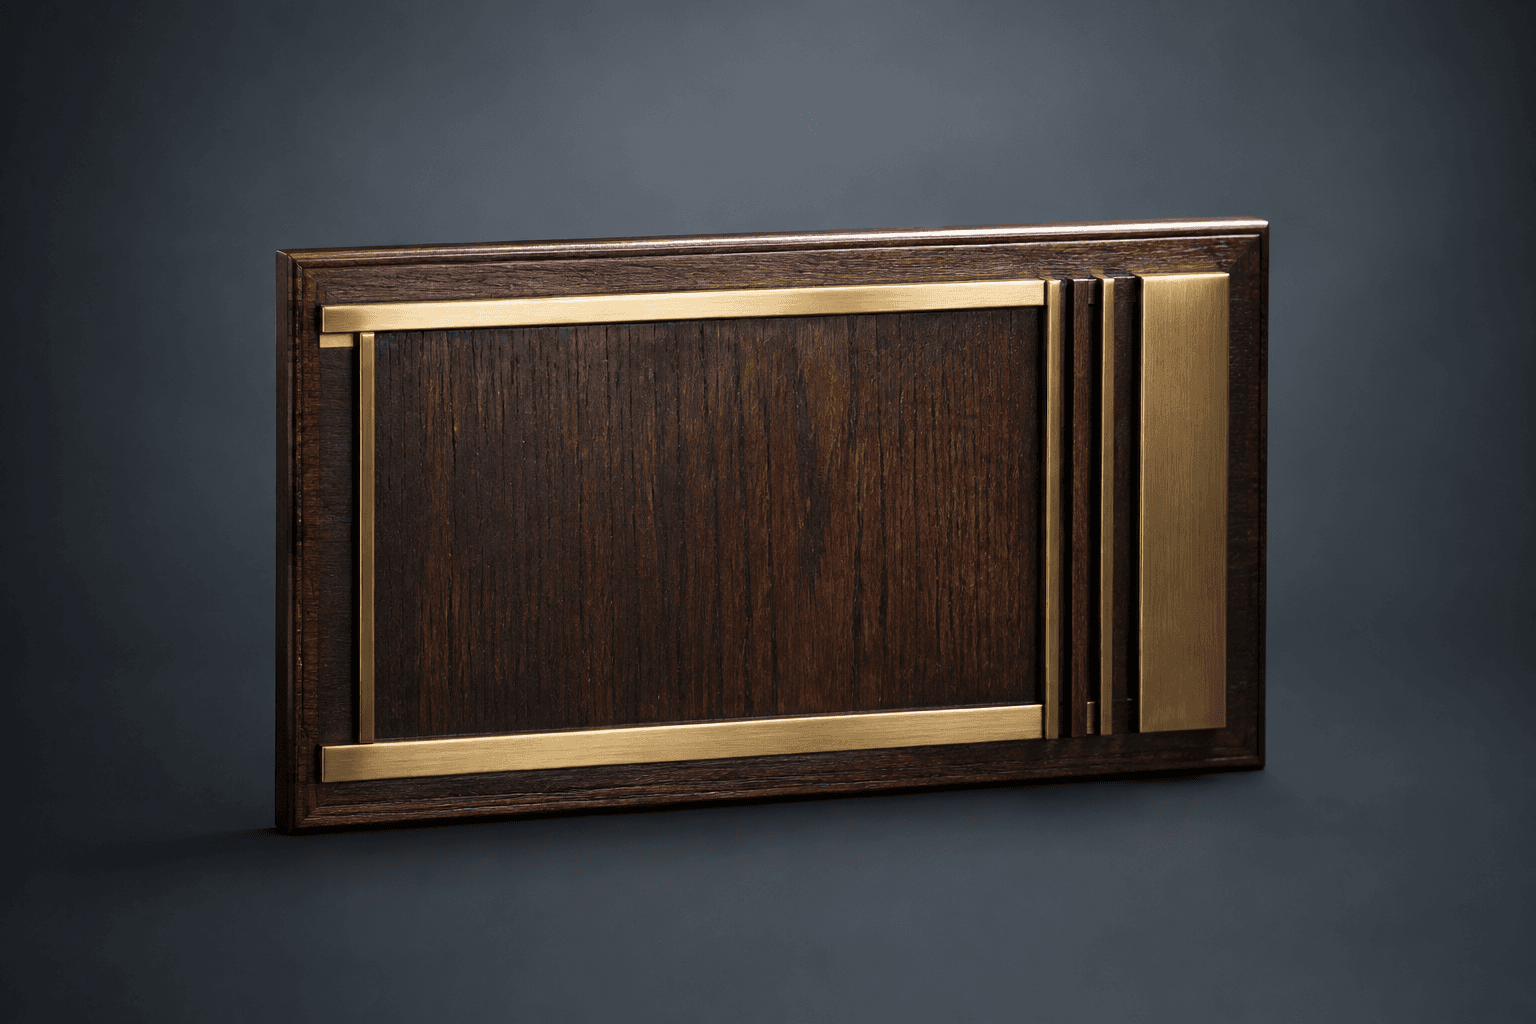
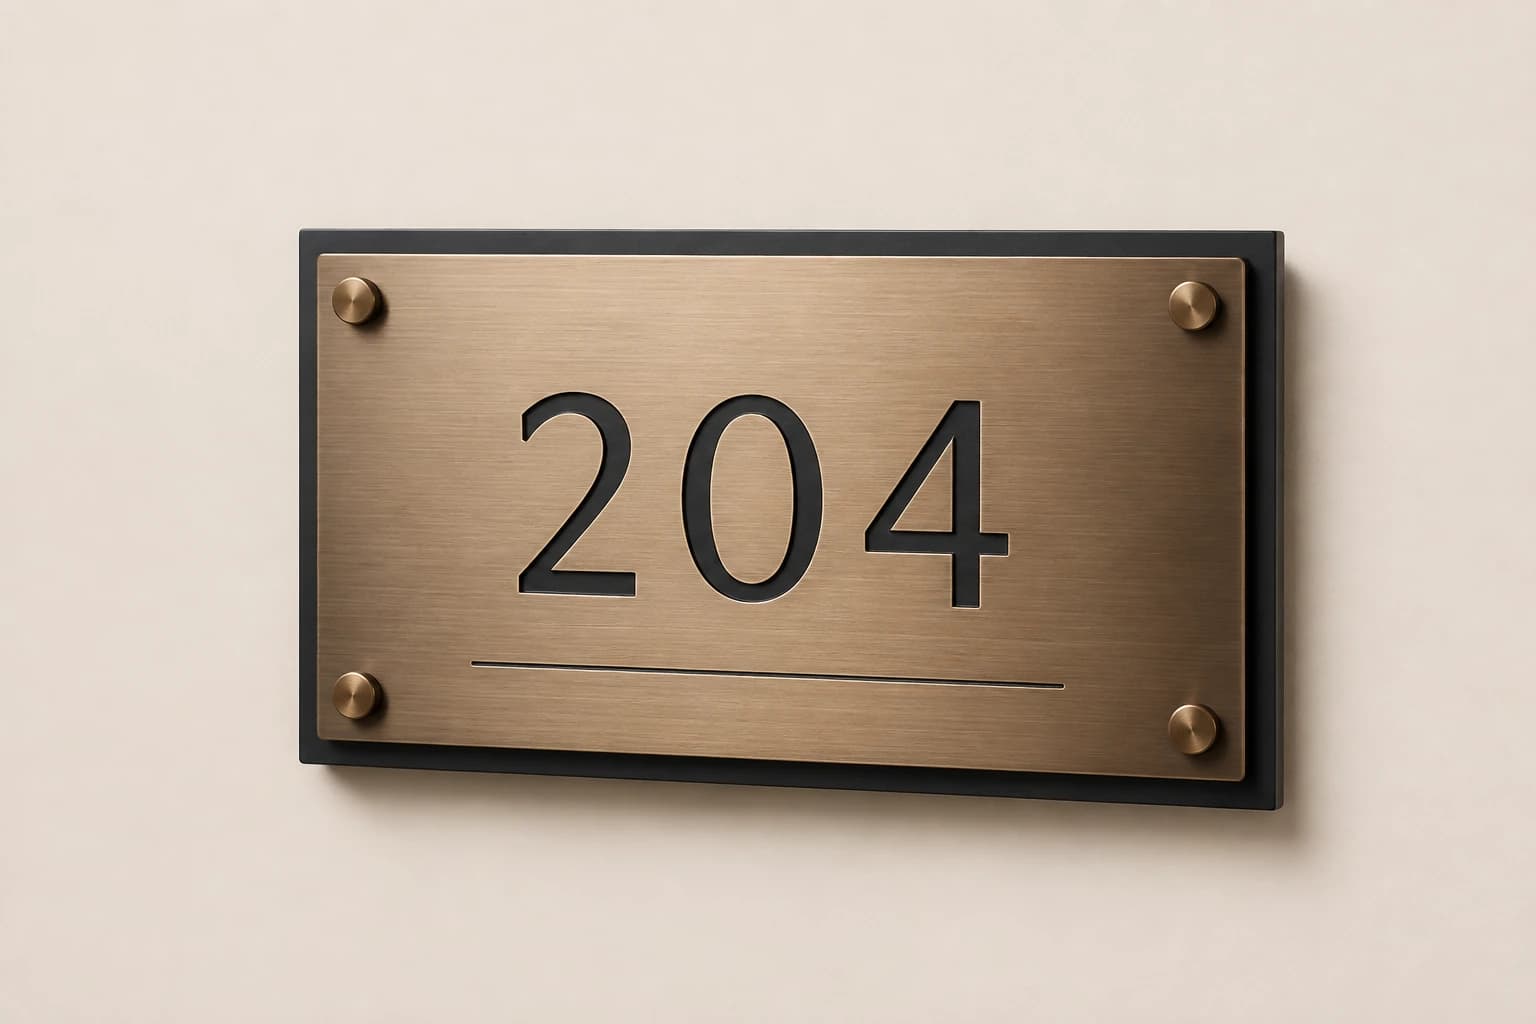
Sources: U.S. Access Board: Chapter 7: Signs
Use stable IDs that survive a plan revision
Choose a sign reference that identifies the physical object in the project record, then store floor, zone and exact location as fields. The reference can include useful context, but it should not depend on a spreadsheet row number that changes whenever the file is sorted. Connect it to a marker on the approved plan where available.
Keep the message separate from the sign ID. If a room changes its public name, the object may remain at the same location while its artwork changes. If a directional sign is moved, the message and approach may need review even if the destination list stays familiar. Stable references let the change record explain what happened rather than hiding it inside a renamed file.
For several buildings or wings, include enough context to avoid duplicate room numbers becoming ambiguous. Room 201 in one building is not necessarily the same destination as room 201 elsewhere. Use a complete location key in the private project schedule and choose the public wording through the approved wayfinding plan.
Describe where the guest is when reading the sign
For directional content, record the approach or viewing side used to determine the message and arrow. A destination can lie to the left from one corridor approach and to the right from another. The direction should come from the actual reviewed route, not from the orientation of a graphic on a designer's screen.
Keep separate face records for a double-sided object when the two approaches differ. Link them to one parent assembly so the piece count stays correct. Include a plan reference or annotated context view that makes the intended orientation understandable to the reviewer. The production team should reproduce approved direction information rather than infer the route from an unmarked floor plan.
Do not expand a room-number range automatically across every sign. A corridor branch may serve a subset, an accessible route may follow a different path, or the approved naming may not be a simple numeric sequence. Have the responsible property team verify the actual destination group for each location before releasing the artwork.
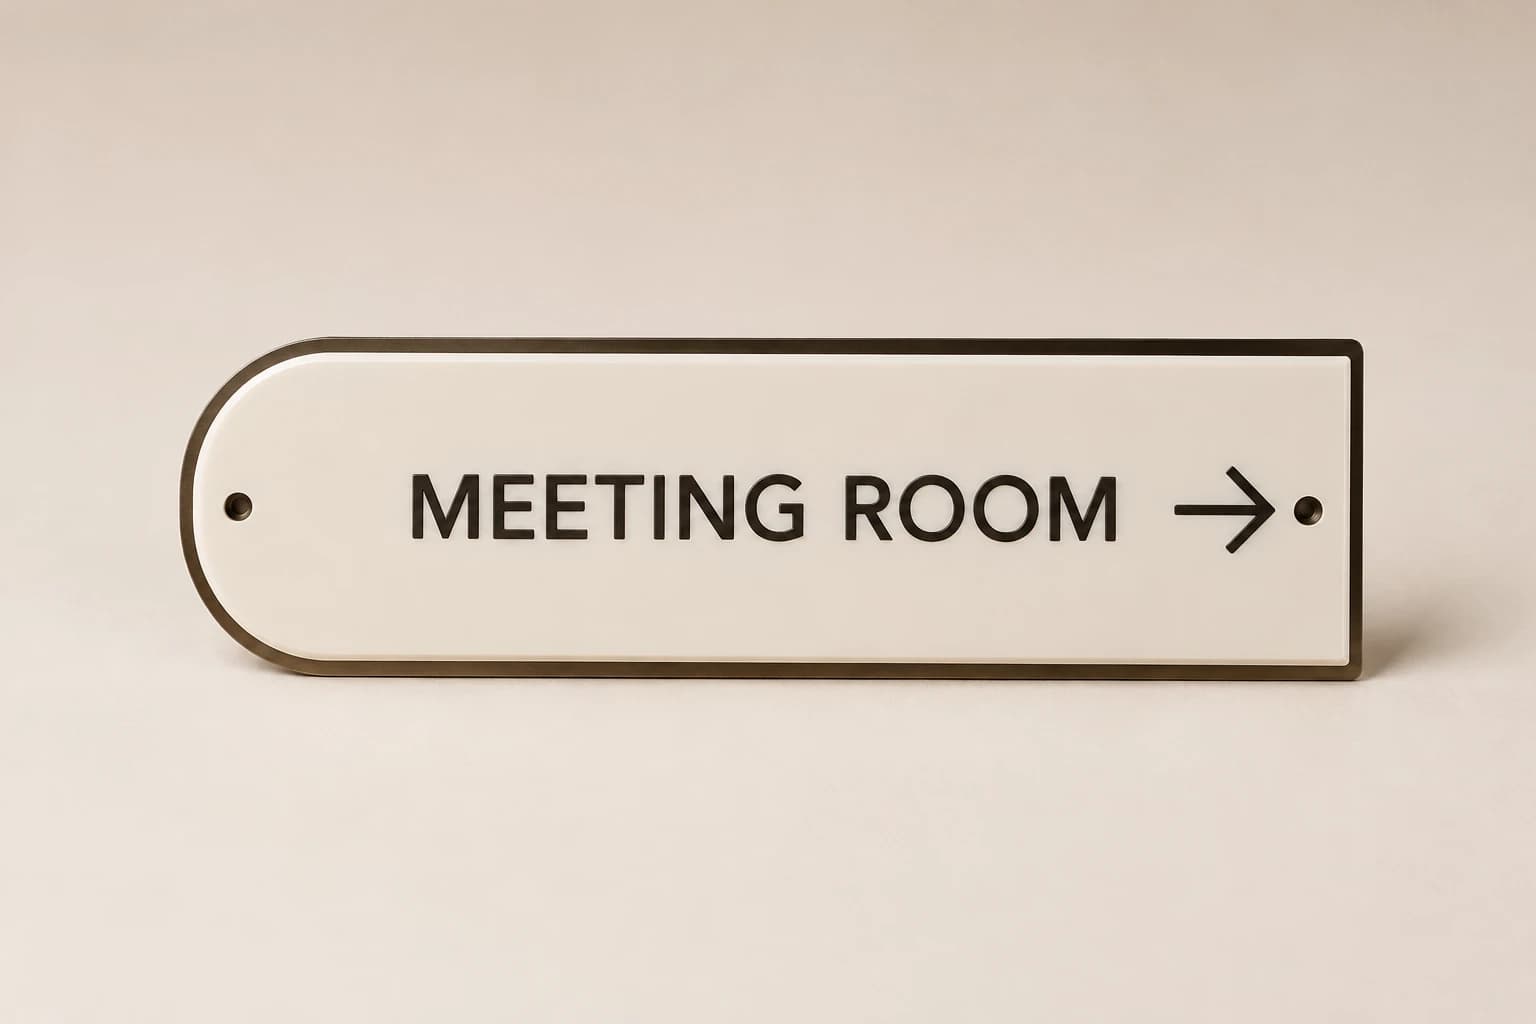
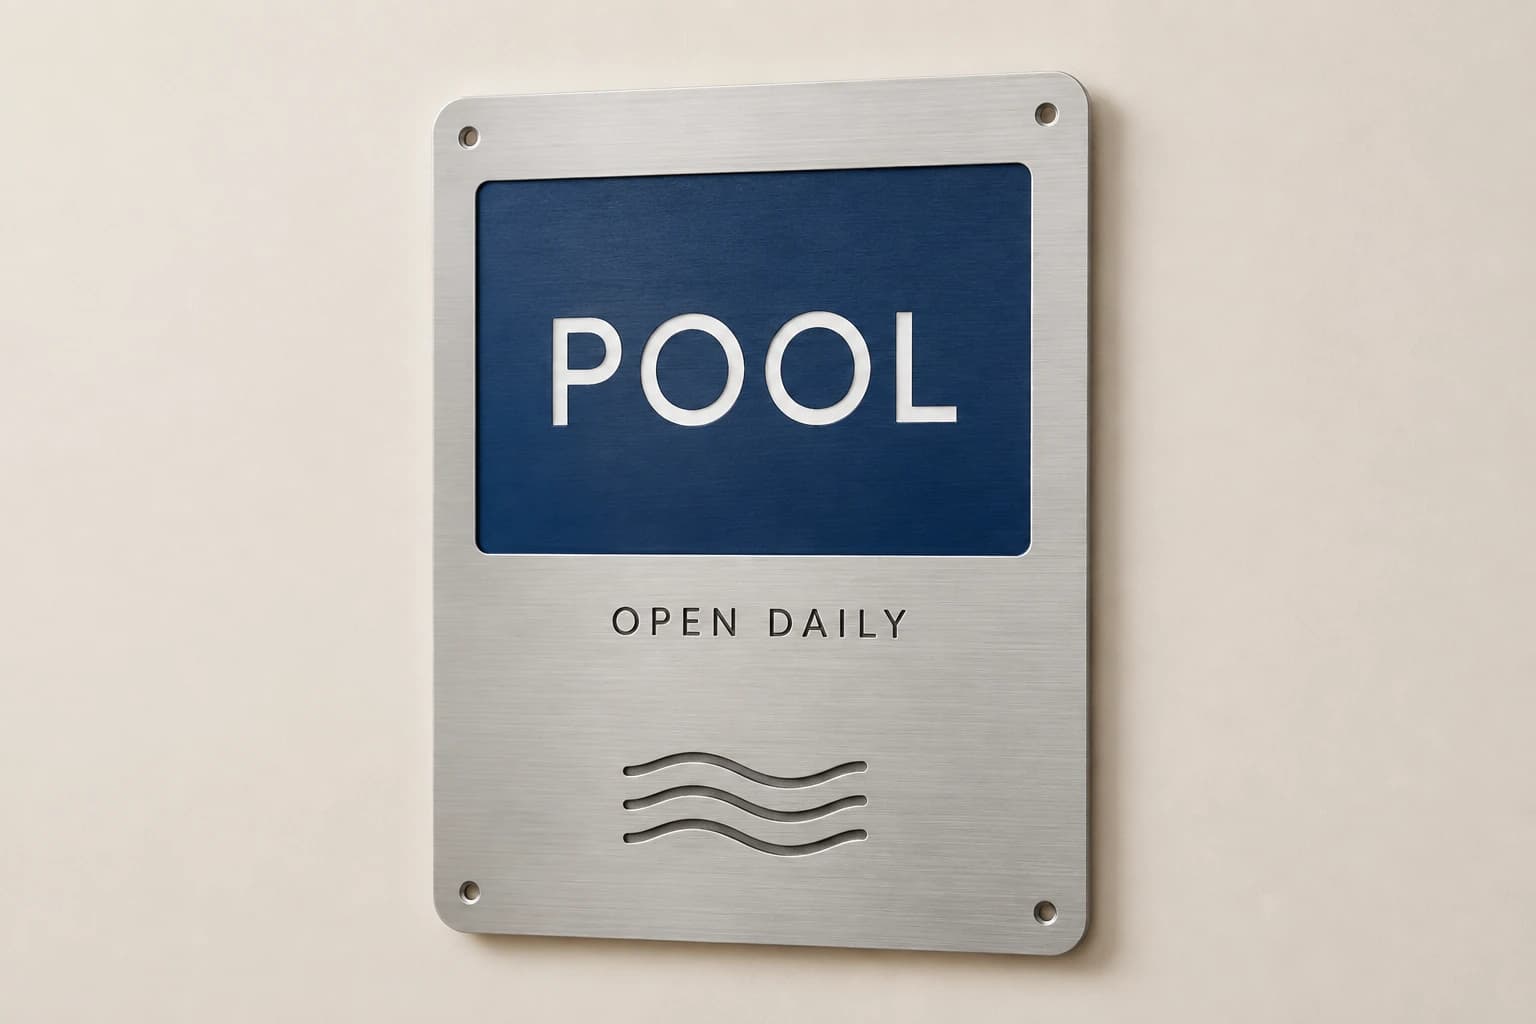
Illustrative example: three floors and sixty-eight assemblies
Imagine a fictional hotel project with three guest floors and twenty room plaques on each floor. That provides sixty room-identification assemblies. The reviewed plan also calls for two corridor-direction assemblies per floor, or six, and two lobby-information assemblies. The total is 60 + 6 + 2 = 68 complete sign objects.
Load the calculator with sixty room units, one sign per unit and eight shared-area signs. The result is sixty-eight. The downloadable file is a floor-level summary of the same inventory, not a final location plan. A real schedule must expand each group into stable sign IDs with approved location and artwork references.
The example does not imply that every twenty-room floor needs two direction signs. Those six objects are explicit assumptions of the fictional reviewed plan. A real property may have a different circulation pattern and sign requirement. Use the plan to determine the shared-area inventory rather than turning this example's ratio into a design rule.
If one floor later adds a separate meeting room, review the actual sign implications. It may need its own identity and changes to existing direction information; it does not automatically require another copy of every corridor sign. Record new objects, revised artwork and unchanged objects separately so the purchasing update reflects the scope of the change.
Count the complete sign objects in this example
Load the fictional count described in the article, then replace it with your approved inventory. Keep faces, inserts and frames in the separate component schedule.
Method: Multiply entered room or unit count by pieces per unit and add explicitly entered shared pieces and spares. The result does not establish assembly contents, mounting or accessibility compliance.
Build your plan
Inventory is separate from design compliance. Supply the sign schedule, mounting locations and applicable requirements for review.
Use the article’s example files
This fictional schedule demonstrates the article’s method. Replace the property, room and artwork references with your approved project information before requesting production.
Different records answer different project questions
Keep these distinctions visible in the project schedule and quote.
| Option | What the reference describes | What still needs confirmation |
|---|---|---|
| Room inventory | The approved destinations and identifiers used by the property. | The complete number and position of directional signs. |
| Location plan | Where each proposed sign sits in the reviewed design. | The final wording, material or piece count unless linked to the schedule. |
| Sign schedule | Each object’s purpose, location, construction and artwork references. | Automatic approval of unresolved design or site questions. |
| Face schedule | The message seen from each relevant approach. | A separate complete assembly for every face. |
| Revision register | What changed and which references are affected. | Authorization to manufacture a superseded drawing. |
Review a representative route before releasing every floor
Choose a route through the proposed sign system and follow its sequence in the plan: arrival, the first decision point, a corridor choice and the destination. Compare the destination naming at each step. A room called Maple Suite on its identity sign should not appear under an unexplained different name in the lobby directory.
Use the review to resolve missing or inconsistent information before copying approved design patterns into the rest of the schedule. This is a content and coordination method, not a substitute for the responsible designer's site and accessibility review. Record any resulting change against the affected sign references so the correction can be traced through the artwork.
For repeated floor layouts, confirm the differences explicitly. The geometry may repeat while room numbers, amenities, circulation or guest access differ. A copied floor schedule is a draft until those fields have been checked. Mark the review status of each floor rather than assuming the first approved example authorizes all later copies.
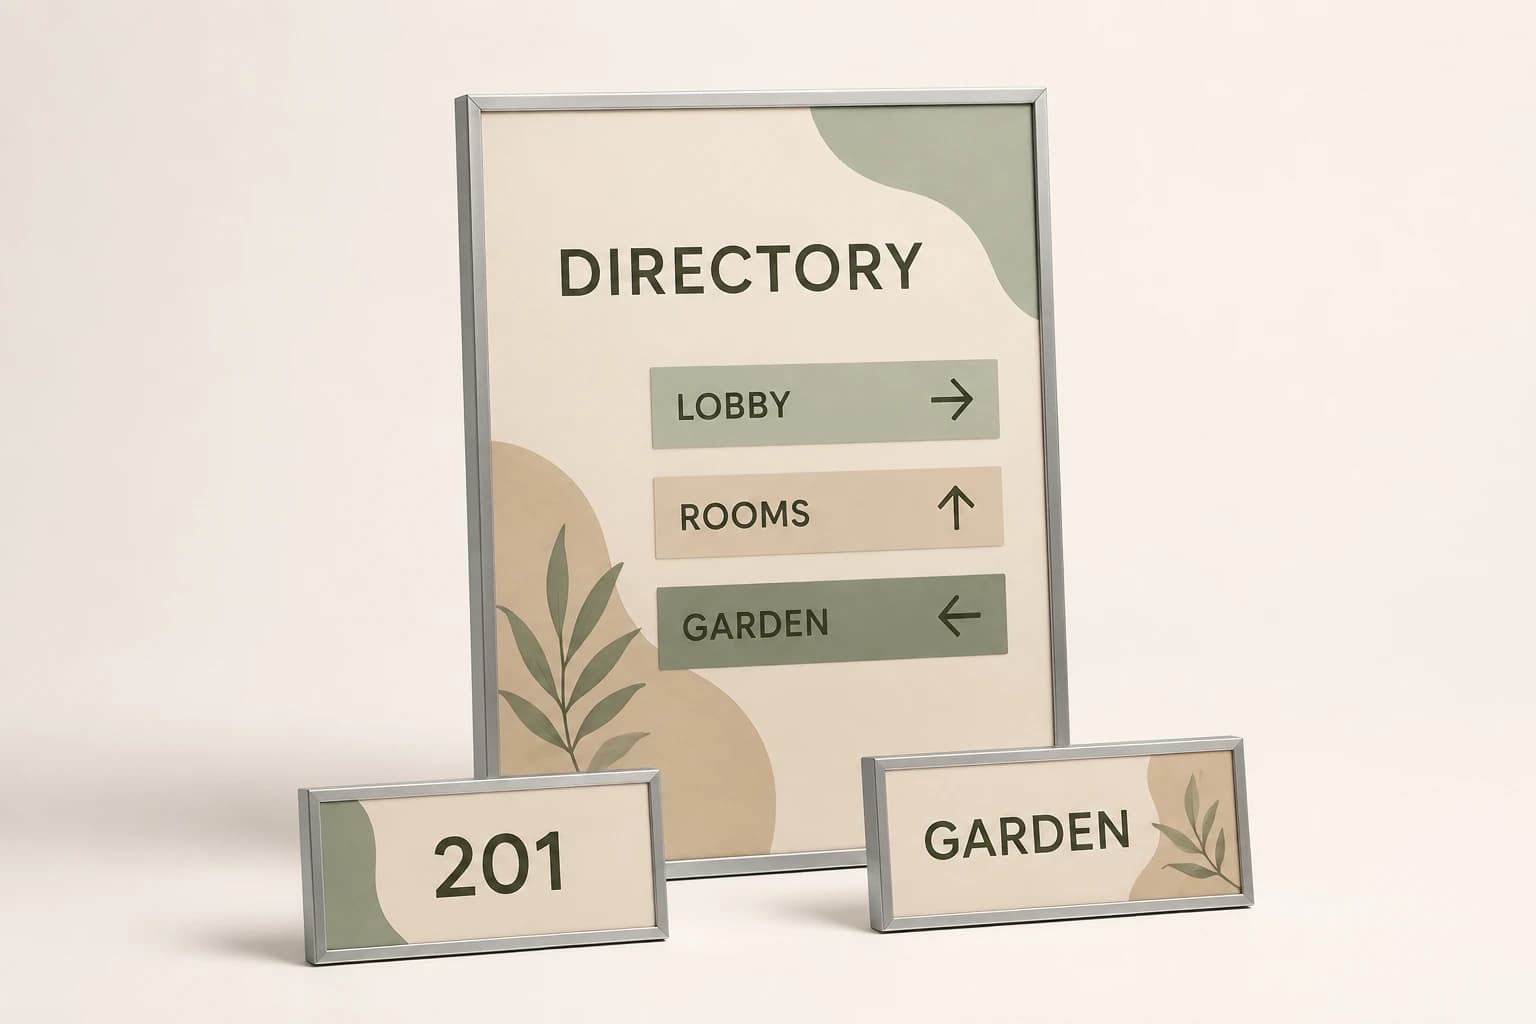
Package the released schedule for production and receiving
At release, identify one current schedule revision and the matching drawing and artwork set. Include complete assembly quantities, face allocations and any separately ordered replacement inserts. Mark optional items or future phases so they cannot be mistaken for pieces included in the current purchase.
Ask for packing by the floor or installation group that the receiving team needs, with the sign references visible in the contents list. Confirm the requested grouping in the quote. A supplier's default packing sequence may follow production efficiency rather than the order in which the property wants to issue the work.
Receiving should reconcile the actual objects against those references. If a carton for floor two contains the expected number of plaques but the wrong room sequence, a carton-level count will miss the problem. Check the approved messages and allocation, record discrepancies and keep the original ordered inventory as the baseline.
Preserve location history for replacements
After the project, retain the final accepted schedule and note any approved installation or artwork changes that affect future orders. A replacement request should identify the sign ID, current location, approved design and whether the request repeats or changes the message. The original room number alone may be insufficient when several formats exist.
If a sign moves, update its location record and review whether its content remains appropriate at the new position. Direction information is tied to the viewing context. A physically undamaged sign may still require new artwork after a route or destination changes.
The retained schedule also helps scope a brand refresh. You can identify which objects need new graphics, which need new assemblies and which remain unchanged. That is more precise than ordering one new sign for every room and discovering later that the shared wayfinding system was omitted.
Hotel signage planning questions
Can I order from a room-number list alone?
It can support the room-plaque portion, but the complete project also needs the approved locations and shared-area sign inventory. Link each physical object to its purpose, construction and artwork.
Should every floor use the same directional signs?
Only after the actual destinations and approaches have been reviewed. Repeated layouts can still have different names, room ranges or routes. Treat copied information as a draft until checked.
Does a renamed room need a new sign ID?
Keep a stable object reference where practical and record the message revision separately. Your project convention should make it possible to distinguish a changed message from a newly added object.
How do I request a replacement accurately?
Supply the sign reference, current location, design and artwork revision, quantity and whether the message repeats unchanged. Include the approved dimensions or holder reference when the request is for a component rather than a complete assembly.
Explore the collection’s design direction
This existing narrated collection overview introduces the product designs. It provides visual background; the specific decision, comparison and worked example are in the article above. Images are original concepts rather than completed customer orders.
25-second overview
Plan hotel room and guest information signs
Build the hotel sign schedule around actual rooms and locations. Separate permanent identification from changing guest information. Confirm arrows, viewing positions and project requirements with the property team. Describe cleaning and mounting, then group the pieces by installation phase. Save the approved schedule and insert dimensions for future room or event updates.
Prepare your brief and request a written quote.
Bring this decision into your design brief
Choose a relevant product direction and include the measurements, quantity, approved wording and delivery destination for your project. We can then develop a specific design and quote around those requirements.
Sources and scope
The sources below support the cited technical details. The ordering workflows are editorial recommendations. Your project specification, price and schedule are established in the written quote and approved proof.
- U.S. Access Board: Chapter 7: Signs · checked 2026-09-05
Which buying guide should you read next?
All buying guidesOne double-sided sign can have two information faces while remaining one complete object. Count assemblies, inserts and artwork versions separately before comparing quotes.
Plain-language walkthrough of 2010 ADA Standards sections 216 and 703 for hotel signs: which signs are tactile, what a tactile sign involves, mounting and latch-side rules, and how a decorative Guestroom Sign Co plaque pairs with a separately sourced tactile sign, with no compliance claim and a clear note that braille is not made.
Use one location schedule per property, with exact room identifiers, sign functions and face directions. Keep permanent room plaques separate from directional and changeable information. A common visual identity does not mean every corridor or mounting surface needs the same sign.
Keep the room’s stable identity recognizable while giving event names and times a clear place to change. Specify the display and its update process together.